Kickstarter for textile-inspired prints
2021.02.01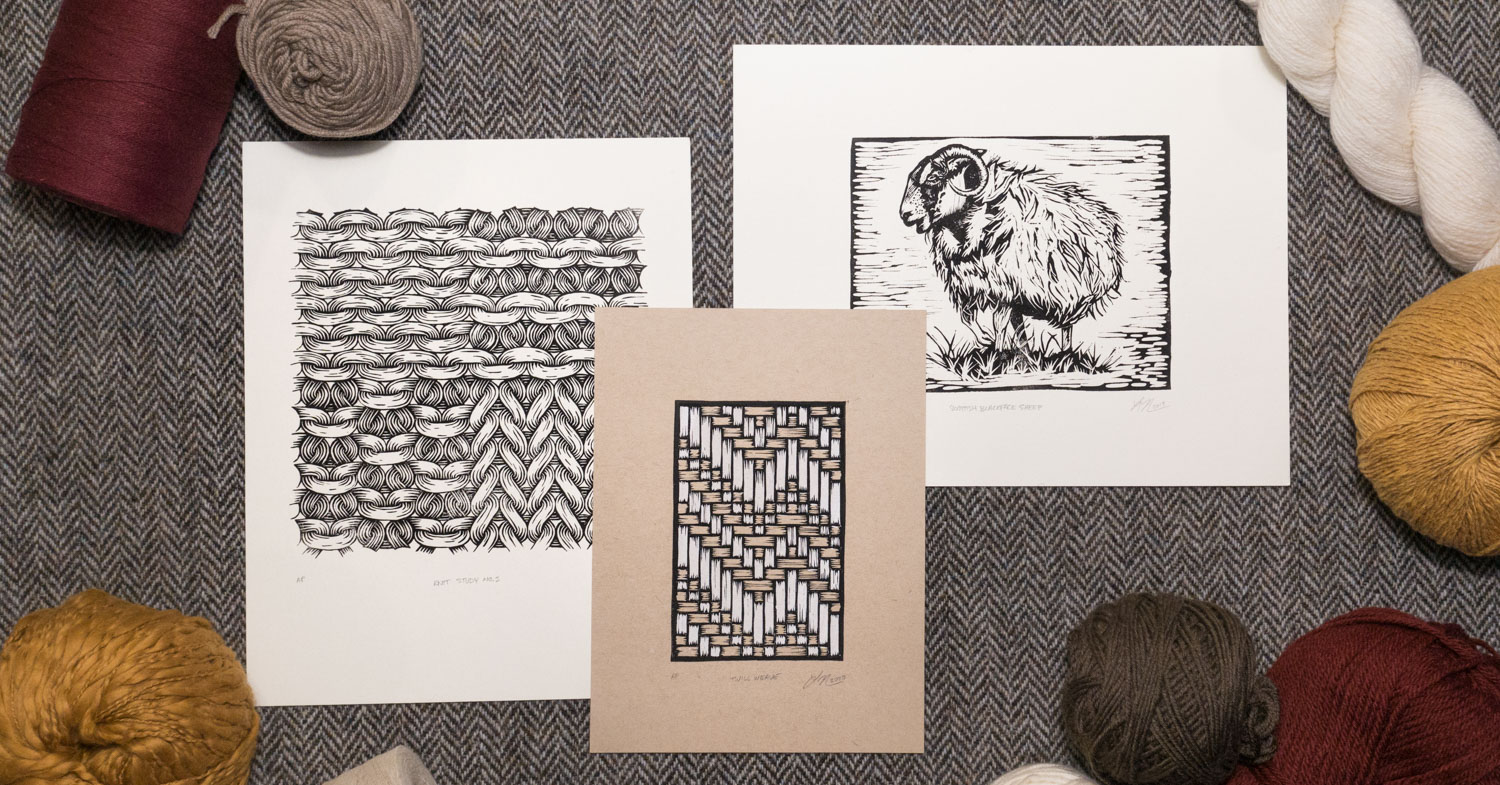
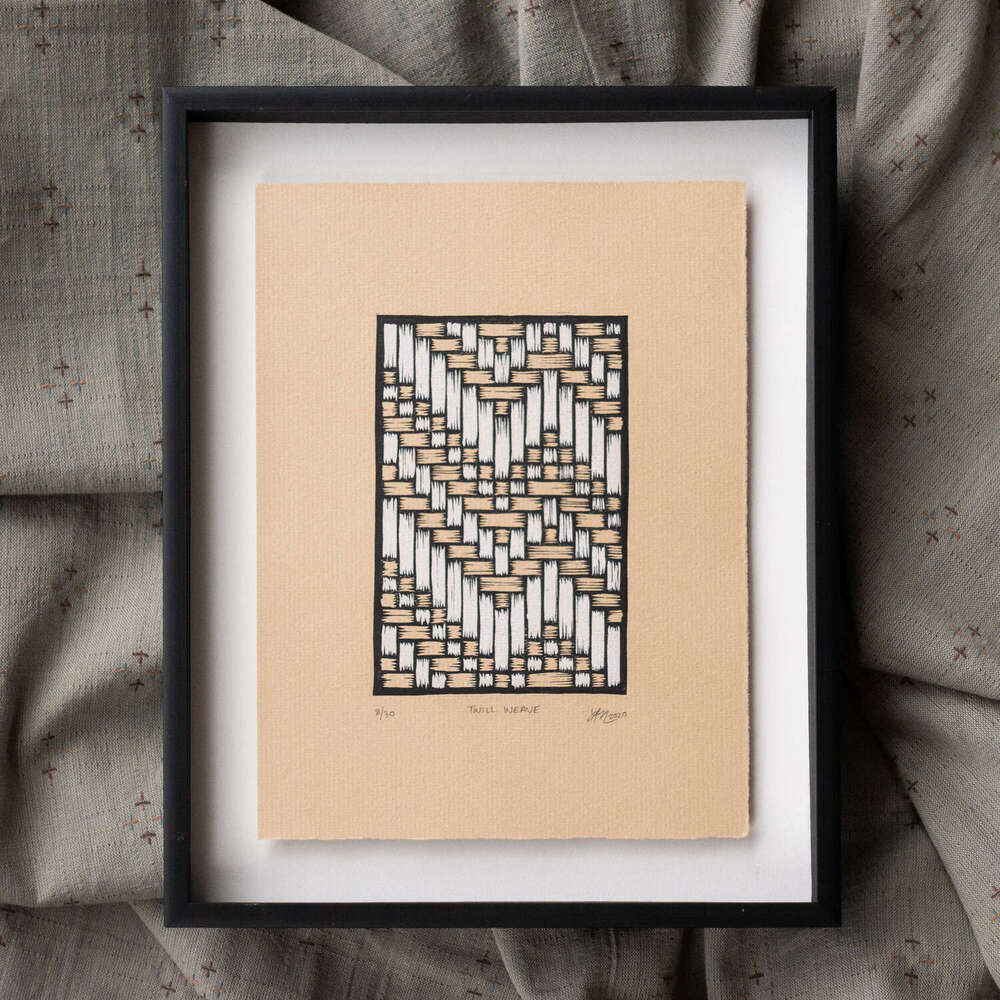
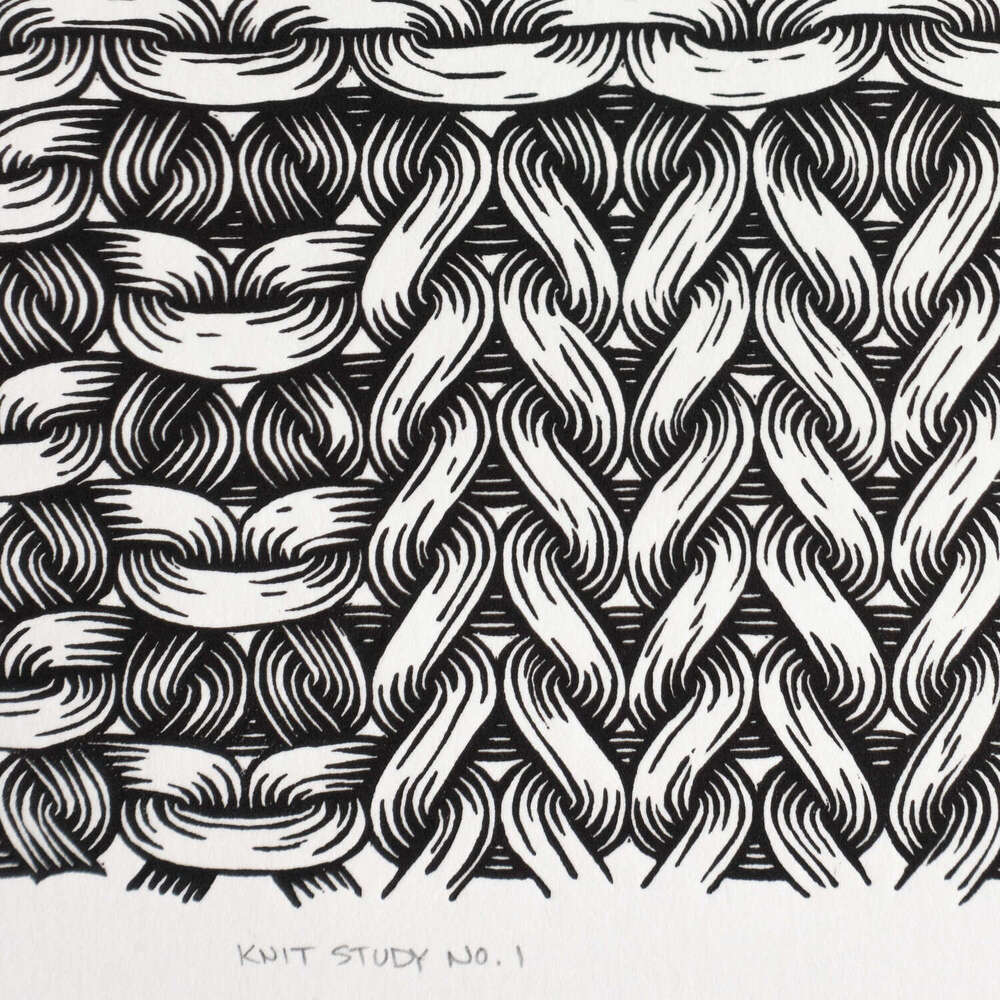
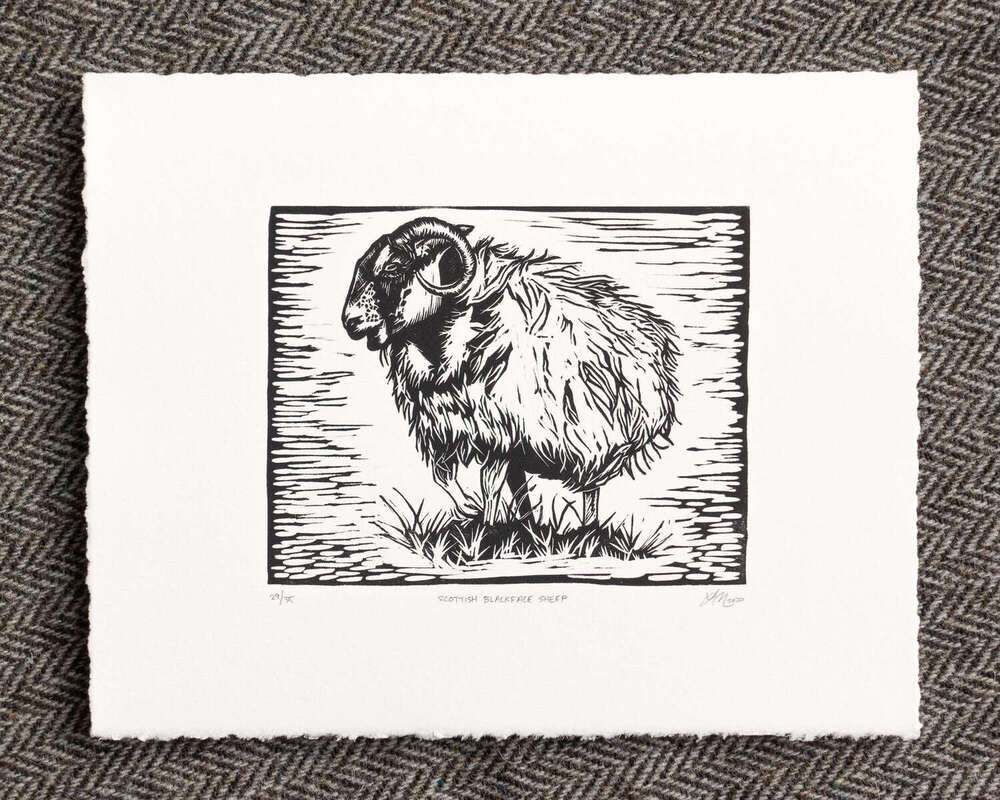
In the first couple months of 2020, I ran a successful Kickstarter campaign to raise funds to start my printmaking business. The project was titled Make 100: Textile-Inspired Linocut Prints, and I committed to creating 100 limited-edition block prints. I launched on January 28, 2020 and the 30-day funding period wrapped up on February 27. I shipped all prints at the start of May.
In August, I opened up my online shop for selling prints. The Kickstarter gave me the necessary funds and the confidence boost to put everything together.

This post is all about my motivation for and experiences while running the Kickstarter, as well as some of the logistical lessons I learned along the way. If you’re looking for more detailed information about how I make my prints, have a look at my Instagram account or read through my other printmaking projects.
Raising money with Kickstarter
Kickstarter is a platform for crowd-sourced fundraising that’s been around since 2009. Kickstarter campaigns come with the understanding that you’re investing in a new creative project rather than purchasing a product that’s been polished and perfected.
Motivation
Fundraising through Kickstarter let me break the creation of my business down into manageable chunks of work. It allowed me to focus on artistic creation and fulfillment while delaying the complicated topics of shop websites, marketing, inventory management, and business licenses.
My goal for raising funds was to cover initial business expenses and pay for art materials that I could use for experimentation and learning. In particular, I wanted to:
- Try out different block printing inks and papers—I tried out different printing techniques and found the best materials for the final prints (all while learning new skills)
- Buy bulk shipping materials—the Kickstarter paid for the larger up-front investment of bulk supplies, and I benefited from long-term cost savings
- Streamline the pack-and-ship pipeline—the large number of orders gave me context for researching shipping providers and determining an efficient, secure, and attractive way to package prints
And, if I’m being honest, there was an additional motivating factor: in the years since I first learned about Kickstarter (over 10 years ago!), I’ve harbored a secret wish to someday launch a project on the platform. I’ve been inspired by the huge range of creative projects that get their start through Kickstarter and wanted to be a part of it all.
Funding summary
I set my initial funding goal at $400: I calculated this as the absolute minimum I needed to fund basic printmaking experiments and purchase small quantities of shipping supplies. I was nervous about how many backers I could attract, and figured that setting the goal low and having to fulfill orders on a tight budget was better than setting the goal too high and not reaching it.
Kickstarter urges all creators to advertise their projects within their own networks rather than relying solely on organic views from the Kickstarter website to fund the project. I found that 60% of my backers were either personal acquaintances, friends of friends, or Instagram followers; 40% were strangers who found my project through Kickstarter.
My Kickstarter campaign had 42 backers and raised a total of $1,823. After subtracting fees ($91.15 in Kickstarter fees; $62.83 in payment processing fees), the campaign paid out $1669.02.
Project updates
After launching the project, I published a couple of updates on the Kickstarter platform to let my backers know how things were doing. I used these updates to document my progress in finding good printmaking paper, experiments with printing techniques for getting a good impression, and decisions regarding safely shipping prints.
- Update #1: Halfway Done! – I talk about creating a small edition of unrelated prints for a charity initiative to gain experience making consistent prints
- Update #2: Less than 24 hours until funding wraps up! (I’ve been making lots of test prints) – I ran into difficulties getting clean prints and explained my problem solving process
- Update #3: Current Progress – a discussion of paper colors, weights, and brands
- Update #4: Packaging Decisions – a detailed writeup of why I decided to use all-paper packaging
- Update #5: Wrapping Things Up – this was my last update before putting the prints in the mail; I mention flattening and signing prints, as well as preparing shipping materials
- Update #6: Now Open for Business! – three months after mailing out prints, I notified backers about my new online shop; I also shared links where they could follow along with my printmaking journey
Materials
Ink
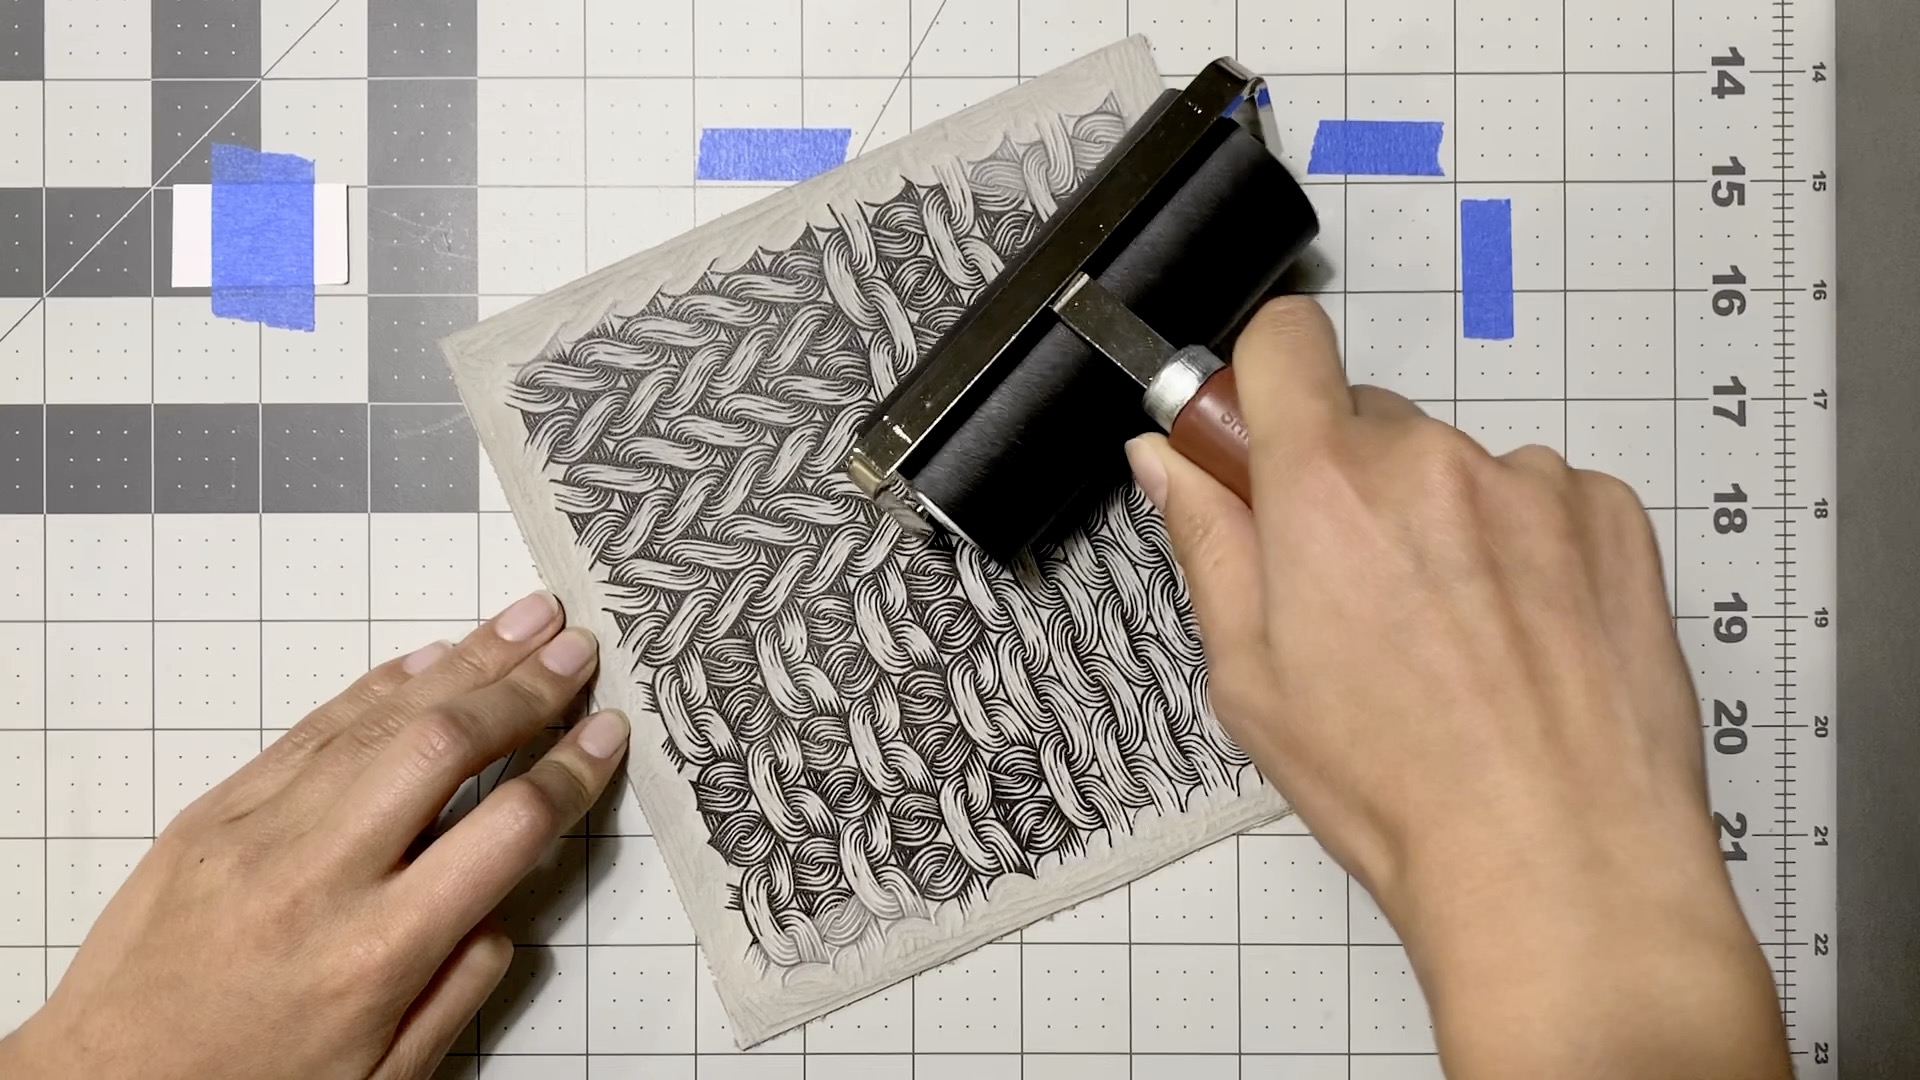
To create the campaign’s sample prints, I used Blick’s water-based printmaking inks, which are beginner-friendly and cheap. But I knew that I would need better inks to print the final editions. Blick’s water-based inks start drying quickly after being exposed to the air; although this is desirable for making a small number of prints that need to be handled immediately, the fast-drying ink becomes a problem when printing larger editions. I planned to create three editions of 30 to 35 prints, and each edition would take many hours to print.
To make it possible to print these larger editions, I turned to oil-based inks, which dry more slowly. I quickly settled on Cranfield Colours Caligo Safe-Wash Relief Inks: these inks are richly pigmented and slow-drying. Best of all, clean up can be done with soap and water rather than noxious chemicals (as is common with traditional oil-based inks).
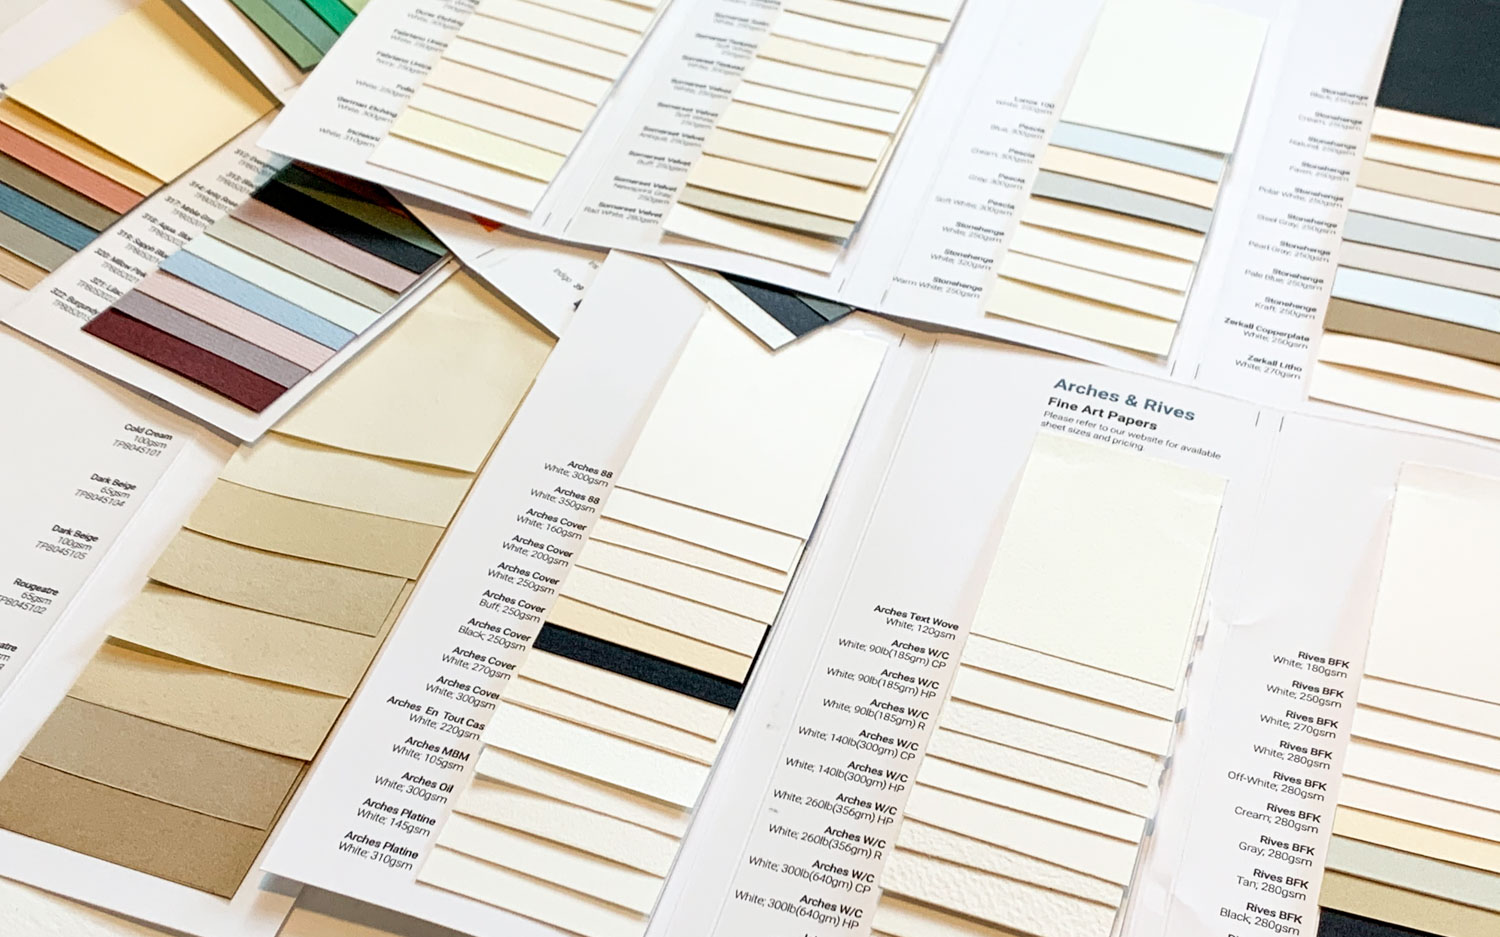
Paper
I ordered a large number of different printmaking papers from Talas, a Boston-based bookbinding supply company with a large selection of competitively priced fine art papers. My first order contained 11 different types of paper and 10 paper sample books.
I experimented with many of the papers to see what kinds of results I could get with my printing process (and adjusted my technique as I learned new tricks). I tried different amounts of ink on the block, different print barrens, and using both dry and wet paper (and once I determined that damp paper produced the best impressions, I had to figure out how to get wet paper to dry flat). From these experiments, I decided on the final project papers: I placed a second paper order to complete the three print editions.
Packing supplies
I needed to find a way to pack the prints so they’d make it safely through the mail system, and I wanted my packing materials to be environmentally friendly. I initially considered purchasing compostable plastic sleeves to protect the prints, especially in the case of rain. However, my research revealed that biodegradable plastic only breaks down under commercial composting conditions and that these facilities are not widely available. Additionally, because this plastic looks identical to its non-compostable cousin, it can easily end up in a landfill where it would never decompose.
Instead, I decided to use 100% paper materials: glassine paper sleeves protect the prints from abrasion during transit (and create an acid-free environment for longer term storage), and the sleeve is secured within a sturdy chipboard folder. These materials, combined with a rigid shipping envelope, provide plenty of protection during transit.
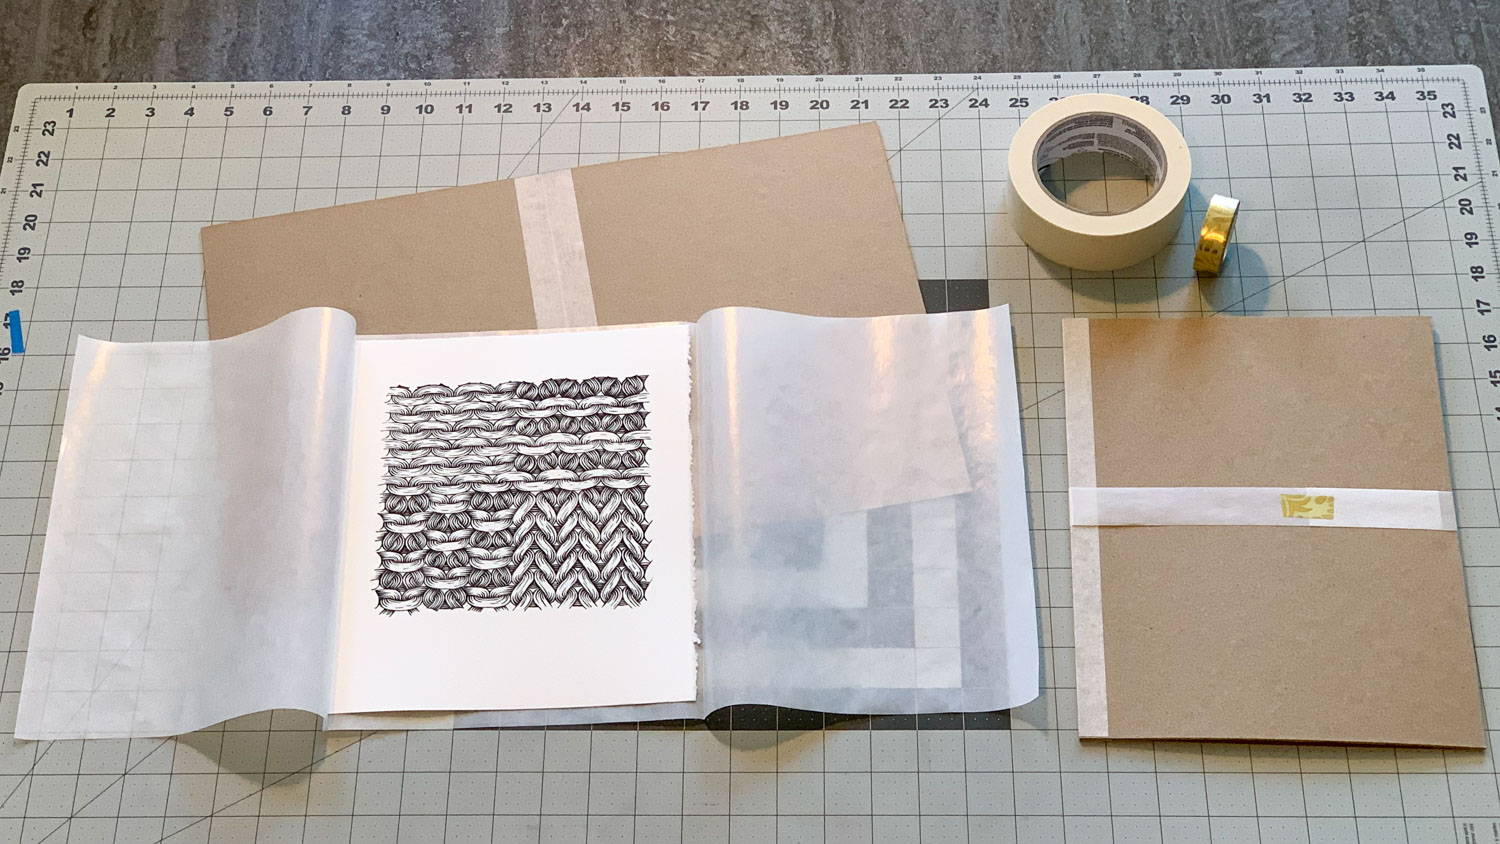
For the Kickstarter, I purchased bulk shipping materials from a big well-known shipping supplier. Knowing what I now know though, I would have instead purchased my materials from EcoEnclose. EcoEnclose puts a huge emphasis on creating environmentally-friendly shipping materials made from 100% recycled post consumer waste. The company’s prices are also quite competitive. Since the Kickstarter, I’ve become a regular customer of EcoEnclose and highly recommend them.
Shipping charges
In addition to the amounts that backers pledged in order to receive a physical print, I also charged backers the cost of shipping. This allowed me to set different rates for domestic and international backers to reflect the different shipping costs – I charged $3 to domestic backers and $10 to international backers.
I arrived at these numbers after researching different shipping methods: out of USPS, FedEx, and UPS, I found that USPS First Class Package (domestic) and USPS First Class Package International offered the best prices for my package size. Although I charged domestic backers the actual cost to ship, I deliberately undercharged international backers. I decided that I’d rather lose a little money on shipping but gain a pledge, rather than scaring off a potential international backer with higher-than-expected shipping costs.
I purchased USPS shipping labels through Pirate Ship, a website that offers competitive rates and has a nice interface for purchasing bulk shipping and for tracking shipments. I’ve continued to use this software to purchase shipping for everything I sell through my shop.
In total, the pledged amounts included $125 in shipping charges; I spent $132.75 to mail out all backer rewards.
Summary by numbers
| Backer counts | |
|---|---|
| 35 | domestic backers |
| 2 | international backers |
| 6 | selected no reward |
| −1 | dropped after the campaign ended |
| 42 | total backers |
| Pledge amounts | |
|---|---|
| $1823.00 | amount pledged by the 42 final backers |
| −$91.15 | Kickstarter fees (5% of funds raised) |
| −$62.83 | payment processing fees (3% + $0.20 per pledge) |
| $1669.02 | total funds paid out |
Kickstarter conclusion
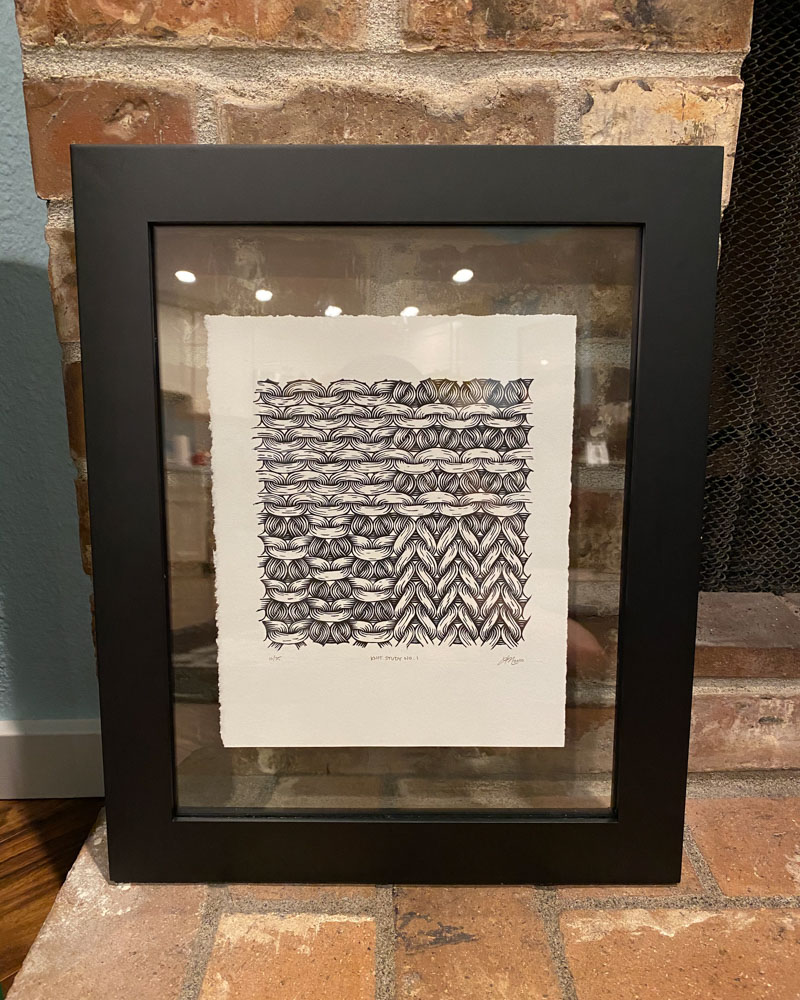
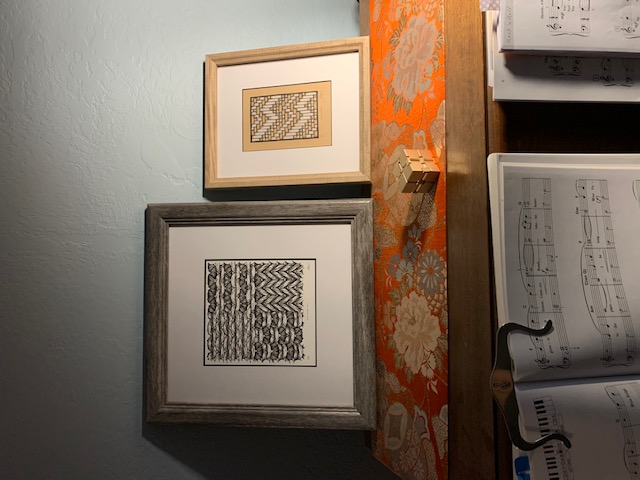
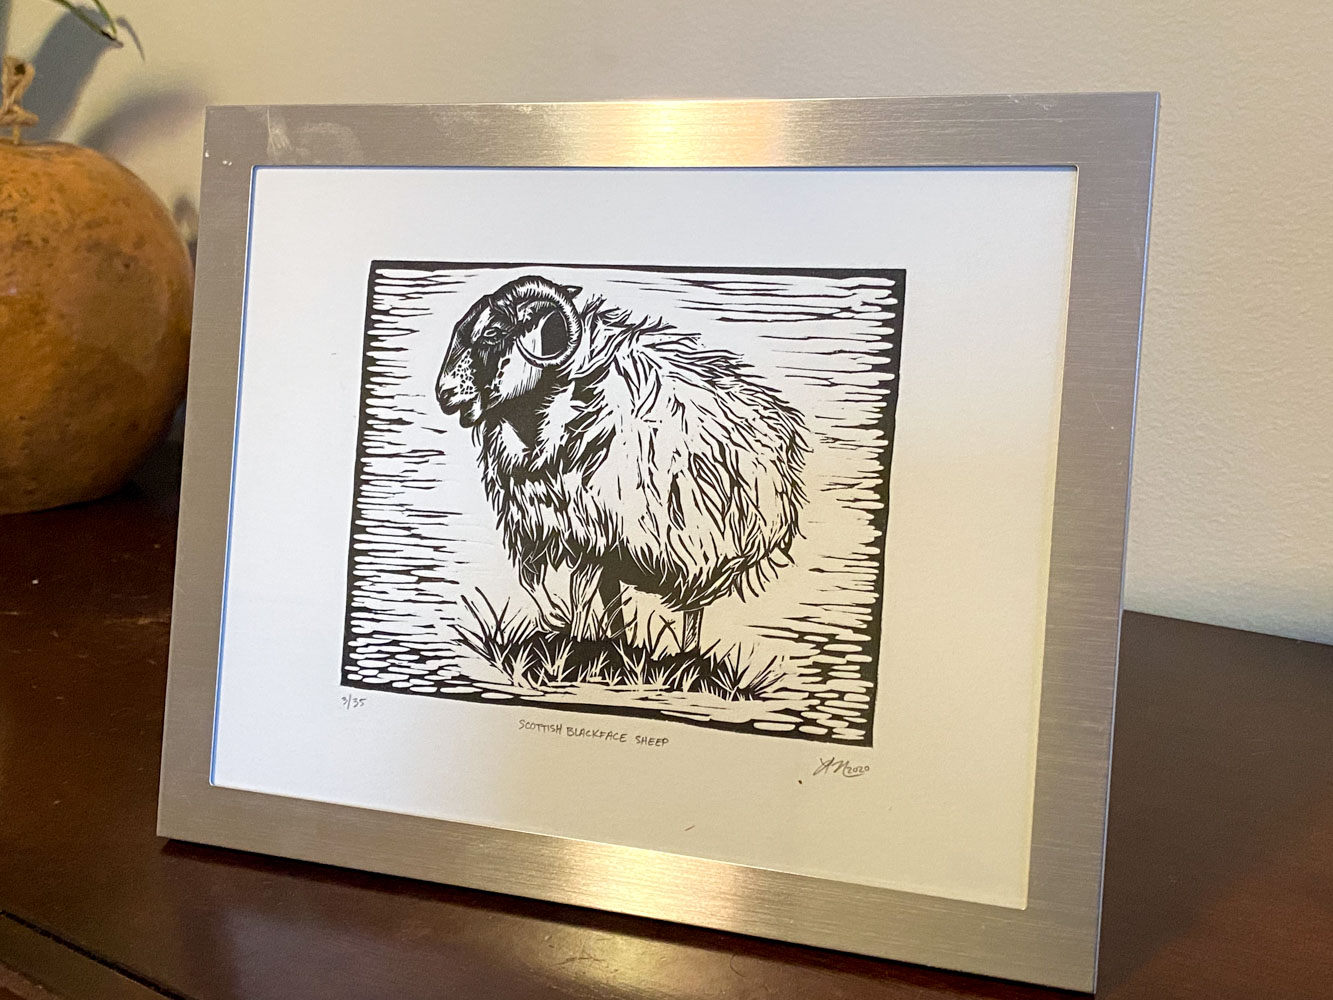
I mailed out the finished prints in May 2020. Several happy recipients reached out to me to share their thoughts and photos:
We just opened it and we absolutely LOVE the prints!!! Lauren - they are just gorgeous!!! So perfect and so elegantly presented! And the prints are like museum quality! We can’t wait to frame them and have them up on a wall where they belong. They are really something special. We both love them!
I’m super excited to get it framed and hang it up! The packaging was great, I loved the experience of opening it up, it felt like a very nice present.
After the Kickstarter concluded, I spent a couple of months putting together an online shop for selling prints, which I launched in August 2020. A handful of limited edition prints left over from the Kickstarter print runs are still available for purchase: